
웹사이트에서 좌우 스크롤로 넘겨보는 UI는 마우스를 사용하는 사용자 입장에서는 불편할 수도 있습니다.
모바일로 접속하는 사용자에게는 문제가 없겠지만 다양한 사용자에게 동일한 UX를 제공하는 것도 중요합니다.
UI 레이아웃

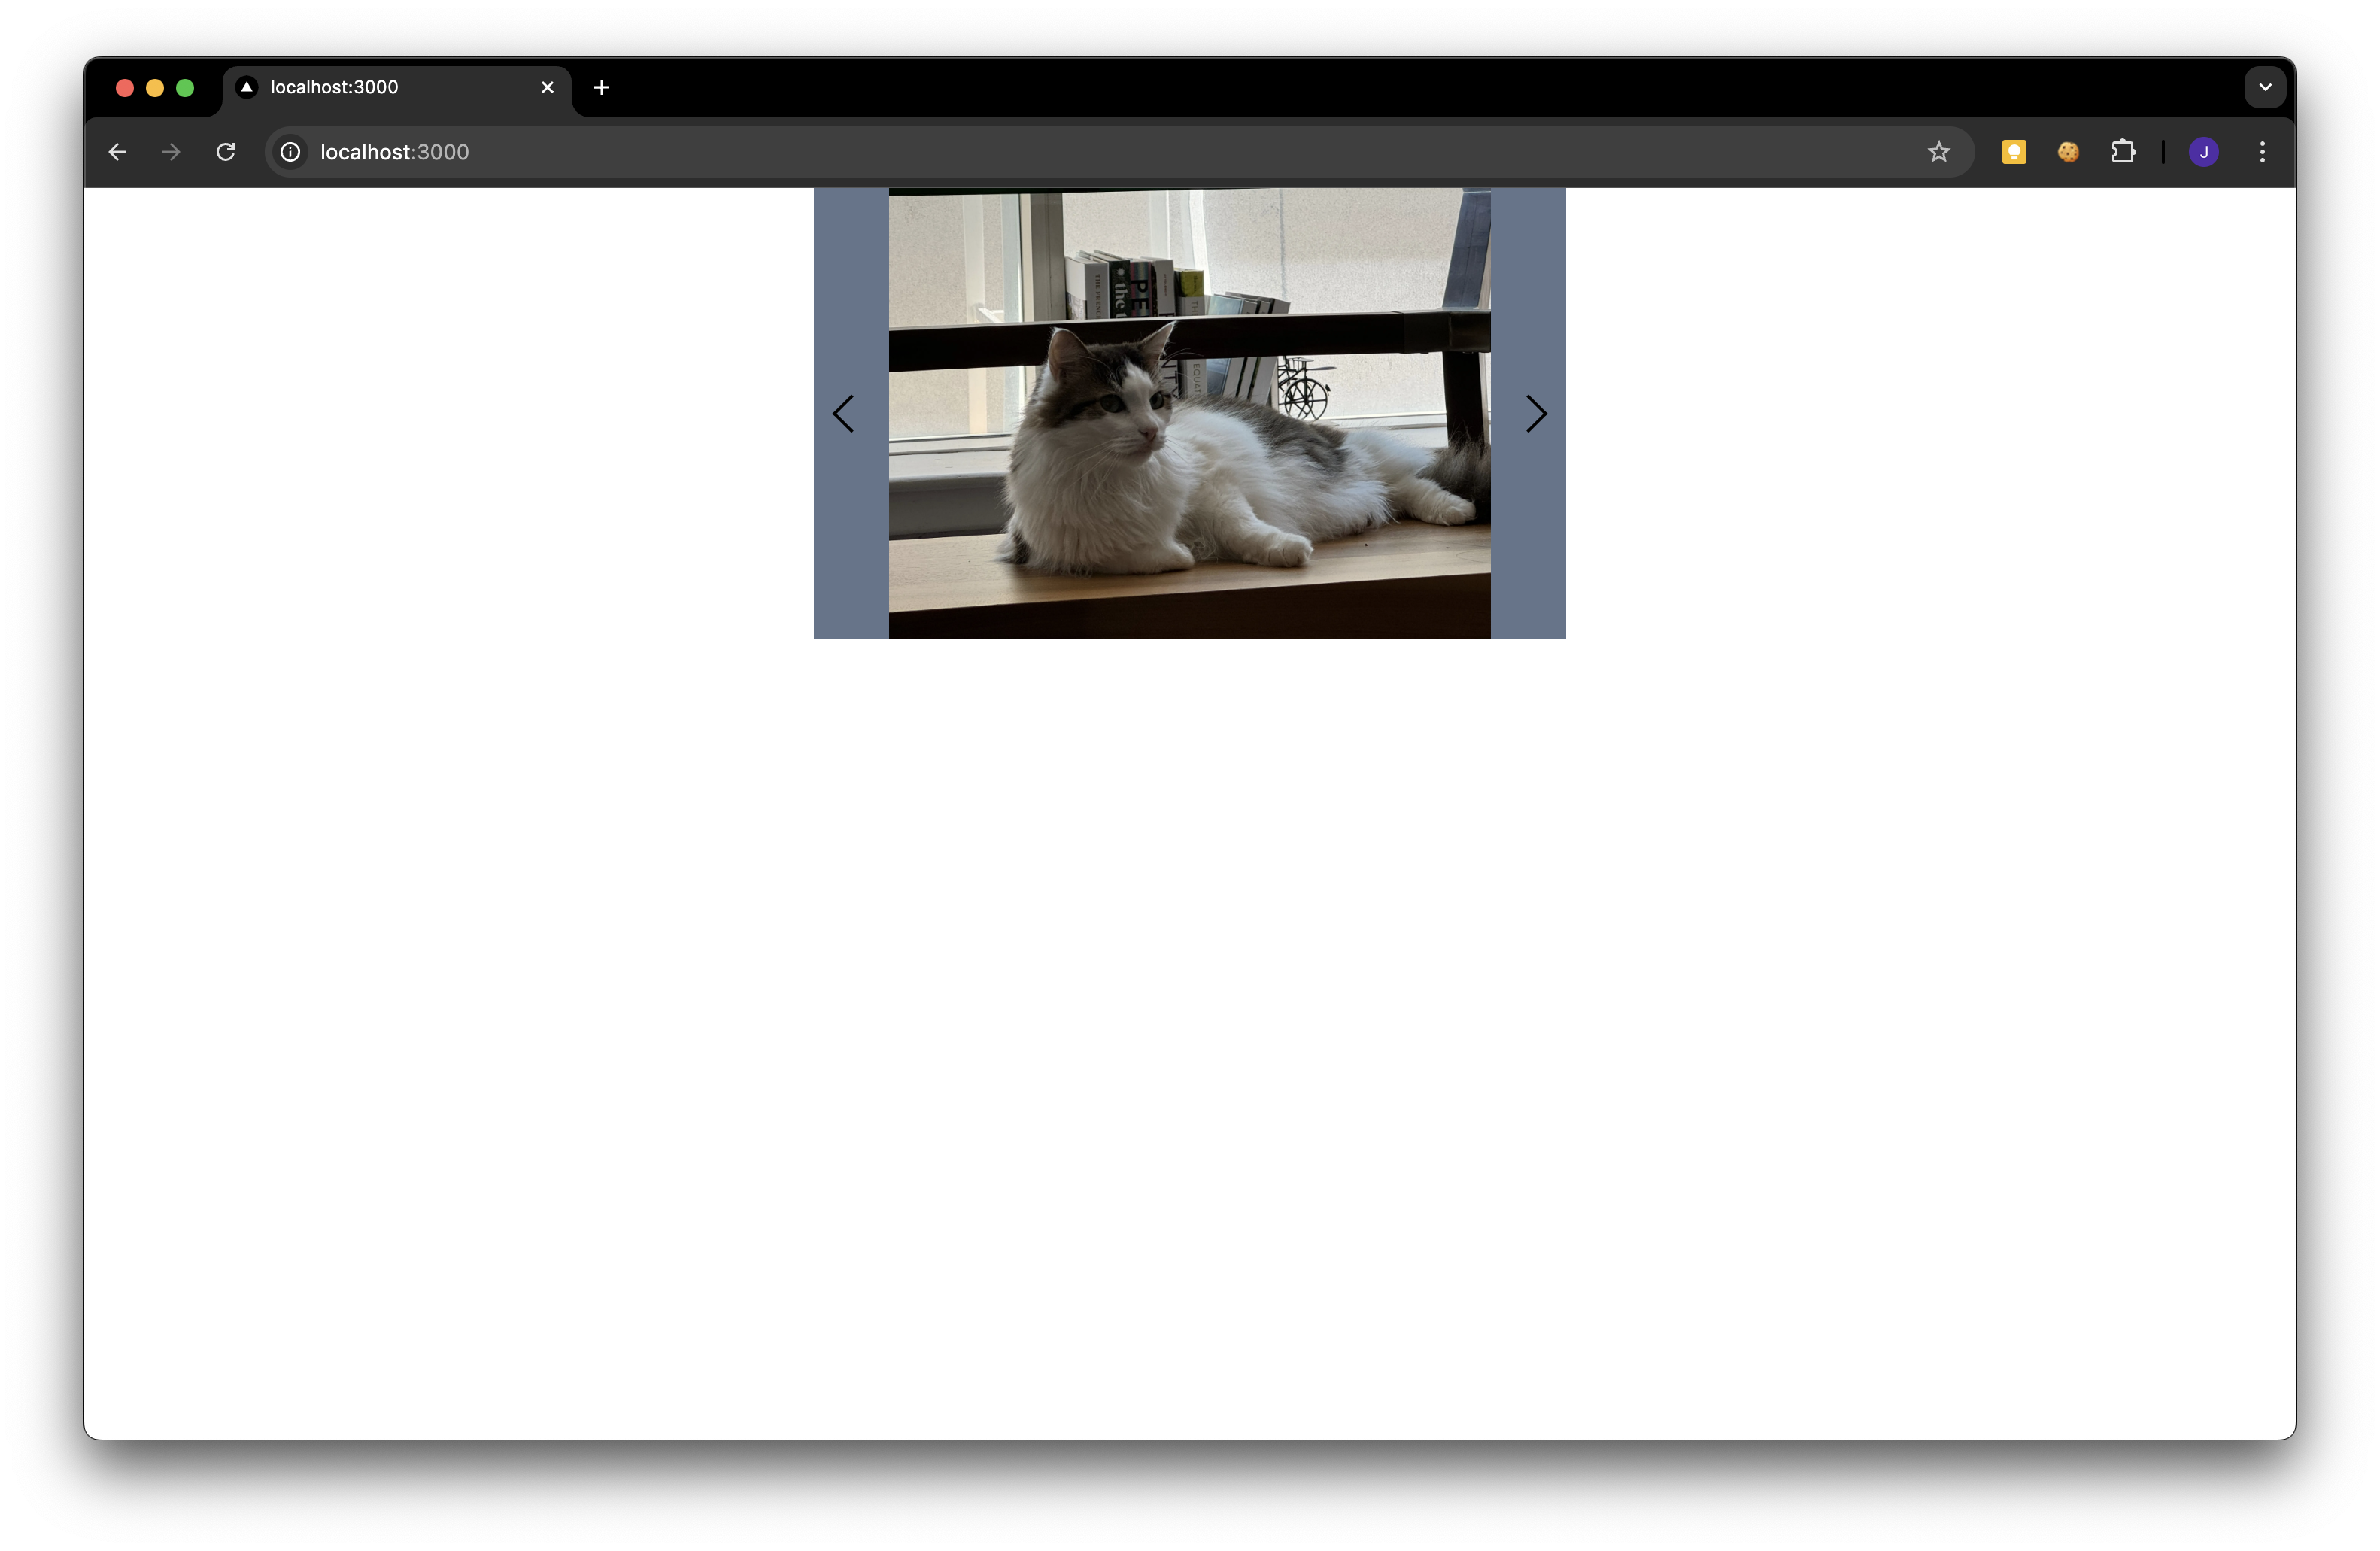
위 사진과 같이 좌우 화살표로 메인콘텐츠에 있는 스크롤 영역을 제어하는 형태가 되겠습니다.
코드
먼저 전체적인 구조부터 잡아주겠습니다.
ScrollableButtonNav.tsx
import React from "react";

interface ScrollableButtonNavProps {
  children: React.ReactNode;
  className?: string;
}

const ScrollableButtonNav: React.FC<ScrollableButtonNavProps> = ({
  children,
  className,
}) => {

  return (
    <div className={`${className} relative`}>
      <div className="absolute w-[20%] md:w-[10%] flex items-center bottom-0 top-0 justify-center z-10">
        <button>
          <div className="border-solid border-t-2 border-r-2 border-black p-2 -rotate-[135deg]"></div>
        </button>
      </div>
      <div className="flex w-full h-full overflow-x-scroll snap-x snap-mandatory">
        {children}
      </div>
      <div className="absolute w-[20%] md:w-[10%] flex items-center bottom-0 top-0 right-0 justify-center z-10">
        <button>
          <div className="border-solid border-t-2 border-r-2 border-black p-2 rotate-[45deg]"></div>
        </button>
      </div>
    </div>
  );
};

export {ScrollableButtonNav};
해당 부분을 통해 버튼과 이미지 혹은 다른 콘텐츠가 들어갈 공간을 만들어 주었습니다.
이제 메인 파일에서 컴포넌트를 import하여 콘텐츠 공간을 이미지로 채워보도록 하겠습니다.
index.tsx
import Image from "next/image";
import { ScrollableButtonNav } from "./ScrollableButtonNav";

export default function Home() {
  return (
    <div className="w-[500px] h-[300px] m-auto">
      <ScrollableButtonNav className="flex w-full h-full bg-slate-500">
        <>
          <div className="h-full w-full flex-shrink-0 relative snap-center">
            <Image
              src="/pablo - 1.jpeg"
              alt="우리집 애기"
              fill
              style={{ objectFit: "contain" }}
            />
          </div>
          <div className="h-full w-full flex-shrink-0 relative snap-center">
            <Image
              src="/pablo - 2.jpeg"
              alt="우리집 애기"
              fill
              style={{ objectFit: "contain" }}
            />
          </div>
          <div className="h-full w-full flex-shrink-0 relative snap-center">
            <Image
              src="/pablo - 3.jpeg"
              alt="우리집 애기"
              fill
              style={{ objectFit: "contain" }}
            />
          </div>
        </>
      </ScrollableButtonNav>
    </div>
  );
}
저는 가시성을 위해 ScrollableButtonNav 컴포넌트에 className="bg-slate-500"로 배경을 추가해 줬지만 없어도 되는 부분입니다.
그럼 다음과 같이 스크롤이 창과 좌우 버튼이 생기는 것을 볼 수 있습니다.
그럼 이제 버튼에 기능을 추가해보도록 하겠습니다.
ScrollableButtonNav.tsx
...
const ScrollableButtonNav: React.FC<ScrollableButtonNavProps> = ({
  children,
  className,
}) => {
  const containerRef = React.useRef<HTMLDivElement>(null);
  const onClickLeft = () => {
    if (containerRef.current) {
      const container = containerRef.current;
      const scrollAmount = container.clientWidth;
      container.scrollBy({ left: -scrollAmount, behavior: "smooth" });
    }
  };
  const onClickRight = () => {
    if (containerRef.current) {
      const container = containerRef.current;
      const scrollAmount = container.clientWidth;
      container.scrollBy({ left: scrollAmount, behavior: "smooth" });
    }
  }
  ...
  <div ref={containerRef} className="flex w-full h-full overflow-x-scroll snap-x snap-mandatory">
        {children}
  </div>
  ...
좌우 버튼의 기능을 구현해줄 onClickLeft와 onClickRight 함수 두 개를 작성해 줍니다.
또한, 좌/우 이동 간격을 계산하기 위해 children의 parent container에 useRef를 통해 생성한 레퍼런스를 할당해 줍니다.
마지막으로 버튼에 함수를 할당해 줍니다.
ScrollableButtonNav.tsx
...
<button onClick={onClickLeft}>
  <div className="border-solid border-t-2 border-r-2 border-black p-2 -rotate-[135deg]"></div>
</button>
...
<button onClick={onClickRight}>
  <div className="border-solid border-t-2 border-r-2 border-black p-2 rotate-[45deg]"></div>
</button>
...
그럼 스크롤도 가능하지만 버튼으로 좌우 조작이 가능한 UI가 완성이 됩니다.

(feat. 고양이 pablo)
'Programming > 웹개발' 카테고리의 다른 글
| [Docker] Traefik 리버스 프록시(Reverse-proxy)로 사용하기 (0) | 2025.04.29 |
|---|
